I recently purchased a small CRT TV and have been hooking my old consoles up to it, and I noticed the analog stick on my N64 controller was in pretty rough shape. The deadzone was gigantic and it was affecting my performance in some games, so I decided to look into repairing or replacing it with a new stick.
I settled on this replacement stick, available for $11 from Amazon at the time of this writing.
The replacement process is very easy and takes only a few minutes, with no special tools required other than a small philips-head screwdriver, though a flathead screwdriver and some needlenose pliers will make the job easier.
To start, just flip over the controller and remove the 7 large screws on the back, then remove the 2 small screws next to the memory card / rumble slot (they're easy to miss/forget):
You should then be able to lift the back panel off, which should reveal something like this:
The circuit board and rubber membrane for the Z-button are held down with little plastic clips on the sides of the analog stick assembly, so unclip the board and set the rubber membrane somewhere safe.
The R and L buttons are just sitting in their homes, held in by a tiny plastic peg-in-hole system, so you may wish to remove them at this time, as well, just to get them out of your way:
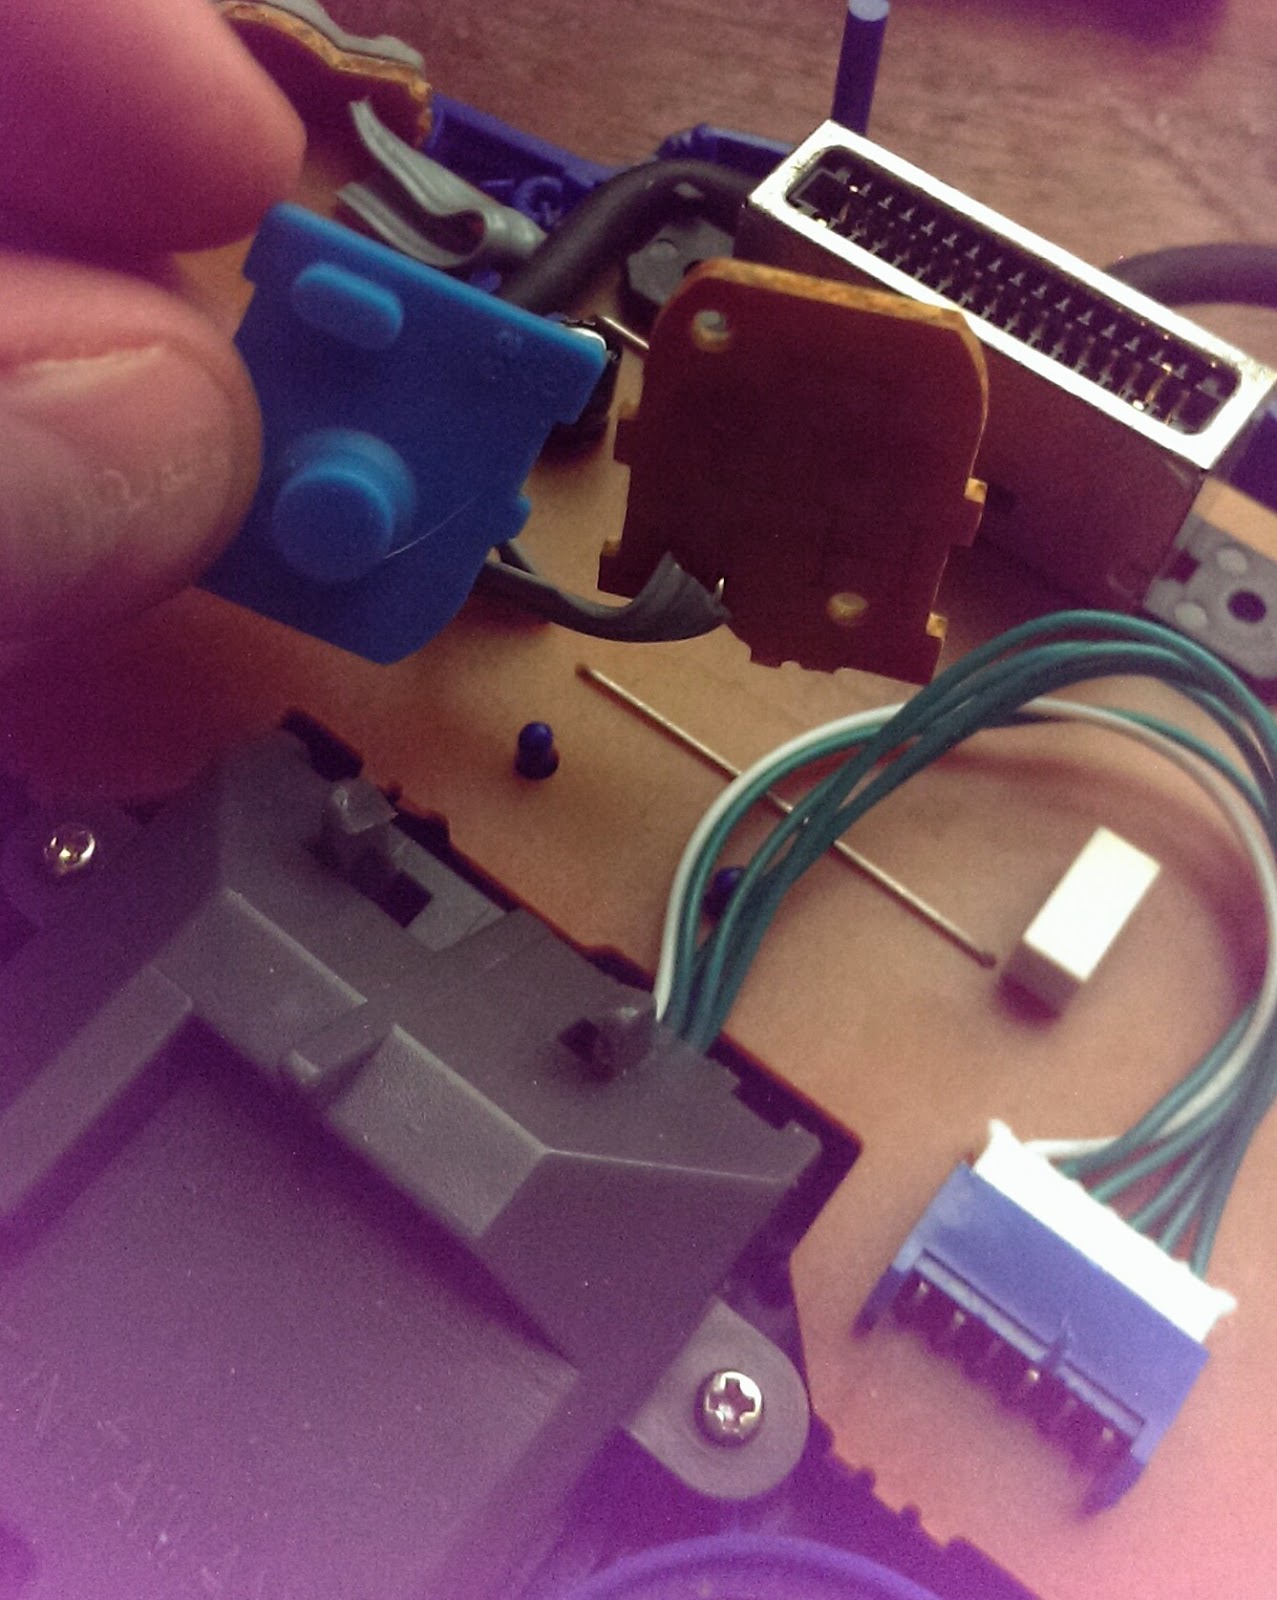
Next, remove the 4 small screws that hold the analog stick assembly in place (in my case, 3 silver screws on the sides and and bottom, and 1 black screw in the middle) and lift the assembly out. It will still be connected to the PCB by a connector, which you should be able to slide out (pictured below):
Mine was very stubborn and required holding the connector housing in place with my fingers while prying with a flathead screwdriver, alternately loosening the sides until it popped out.
Once it's out, you just do the steps in reverse. The connector assembly was the biggest hassle and required some squeezing with my needlenose pliers before it would snap into place. The wires on the connector are pretty small, so make sure you don't accidentally damage them while squeezing, and don't rip the connector housing off of the PCB!
I had an additional screw left over (the middle black one from the analog stick assembly; it's actually part of the OEM stick assembly), but I just stuck it into the hole they left in the new analog stick, even though it doesn't thread into anything.
And here's the finished product:
This stick is more like a Gamecube or Xbox 360 analog stick than the OEM N64 sticks, and as such feels much sturdier. The movement is also largely frictionless, unlike the OEM sticks, which makes it superior for games like Mario Party that really wear out the OEMs (and your palms). On the other hand, the sensitivity is really high and it's difficult to do precise aiming on games like Goldeneye and Perfect Dark, as the reticle tends to jump around a bit when you try to zero in on a small target (like a head...). For this reason, I will likely keep at least 1 controller with the OEM-style stick around for that sort of thing.


I want to warn guys trying to open the N64 controller.
ReplyDeleteI had a stick that was stuck and couldn't go well to one side, I opened and fixed it, but my controller would then squeak when grabbed with both hands and a certain strength, it wasn't assembled well at all and not because I didn't screw hard enough. I have opened 360 pads before and they don't have this issue. With N64 you can go from a sturdy controller to a cheap like one if you decide to open.