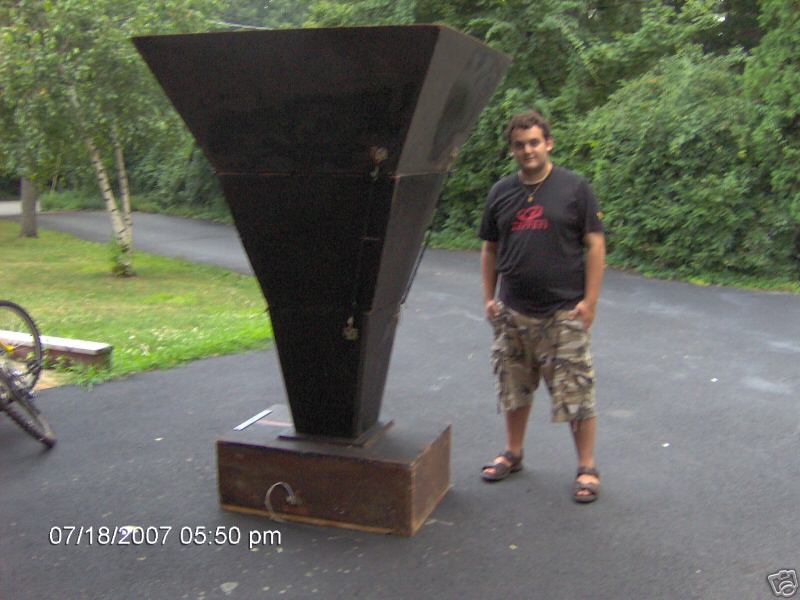
Over the past 6 months or so, I've been researching and ultimately building a pair of backloaded horns. At the time of this writing, I've only actually finished one of them, but I decided to go ahead and make a post about it.
My Phase Technology Teatro 7.5s sound great, but they're pretty weak on the low-end. I've been supplementing with a shitty powered subwoofer scavenged from a boxed 5.1 surround system, but it just doesn't cut it, unfortunately, so I decided to build some speakers that would cover it a little better.
Since getting my upper-mid horns and hearing their clarity and definition, I wanted to go with another horn for the bass, if possible. I've seen a lot of really
crazy,
gigantic basshorns on the internet and wanted to avoid the size that would be required to reach below 100 Hz with a compression driver--not to mention the batshit crazy prices that large-scale compression drivers go for on eBay and Audiogon--so I decided to look into backloaded horns.
Ideally, a horn should be as long as the wavelength of the lowest frequency you wish to reproduce, with a mouth of approximately that same diameter, thus bass horns have to be gigantic to reach low frequencies. You can cheat a little, though, by placing the horn against the floor and/or wall of your room, which lets you cut the wavelength requirement by half for each surface, as it uses the walls/floor as if they were a part of the horn. Furthermore, backloaded horns are typically folded horns, which lets them squeeze a lot of length into a relatively small package. Finally, by starting with a large cone driver, your required horn length is reduced further still.
I used
this 8" driver for the horns, based on their high sensitivity, though
these would also be an excellent alternative. If you don't plan to supplement the horns with a tweeter like I intend to do, you might also consider using a full-range driver,
like this one, though it is obviously more expensive.
This driver is another good option if you want to play at high volumes, due to its high power handling and *huge* cone excursion.
I came up with my own design for the horn itself, based loosely on some designs I found around online. However, most of the designs I found have the mouth of the horn opening into the wall, which I was afraid would deaden the sound, based on how directive my upper mid horns are. So, I tweaked those designs a bit and ended up with something I could construct out of a single sheet of 4'x8' of wood (MDF [medium-density fiberboard] is the best for speakers, but it's heavy, expensive and rough on your tools; particleboard is a good compromise, IMO, insofar as it is very cheap, but with many of the same characteristics as the more expensive MDF; plywood works, too, but it's ugly).
I used 1/2" particleboard, though TBH, 3/4" would probably have been a better choice, both for rigidity and sound isolation. The sides are 2'x4', the back is 1'x4' and everything else is 1'x2' (i.e., the front, the top/bottom and the interior partitions; the last piece is cut in half and glued together at a right angle). I'm not going to go into much detail about the actual construction, since I'm a shitty carpenter and I'm sure you can find better instructions on box-making online than I could ever provide. Anyway...
Glue the pieces together using wood glue, and don't be afraid to really gob it on. You want it to seep into all of those little nooks and crannies in the wood and form a good seal. You can see the excess squeezing out from under the board in this pic:
To be sure that the junctions are all airtight and won't be leaking air into each adjacent chambers, you can follow behind with silicone caulk or "liquid nails" formulated for wood, which is what I used:
If you look closely, you can also see the right-angle brackets I used to reinforce the box structure.
After all of the interior structure is glued solidly into place, you can glue the other side panel to seal the cabinet shut. I used the liquid nails instead of wood glue to seal it, with a bunch of cinder blocks, books, records, etc. piled on top to get a good connection while the goo dries:
One thing to remember before sealing the cabinet: go ahead and thread some speaker wire through because it'll be much easier now than if you wait. If you do forget (like I did, actually), you can tie the wire around something (I used my dog's Kong toy), drop it into the speaker hole and then flip the whole thing around until it pops out the mouth of the horn. This is harder than it sounds, though, because these horns are gigantic and heavy as shit.
Another bit of advice, do your painting *after* your gluing (unlike me), so you don't have to worry about excess glue spilling over onto your fancy paint job.
Most of the projects I've seen online make a big deal about filling any cavities with sand or kitty litter so they don't turn into resonance chambers, but I don't really notice any problems and I did not do it. Of course, YMMV.
Anyway, here's the finished product:
You can see my small upper mid horn perched on top. You can also see the speaker wire dangling out of the mouth of the horn, since I haven't purchased proper binding posts yet (maybe never...).
As far as the sound, the bass response is considerably more potent than I expected. The driver works as a direct radiator (so better quality drivers will make a noticeable difference in sound quality), while the low frequencies bounce around inside and bellow out of the horn's mouth. The horn produces some of the clearest, most defined bass I've ever encountered, though it is definitely lacking above 1 kHz. That in mind, I intend to pair it with either
this tweeter or
this one.
One last picture of the finished horn, this time from the side:
The depth is really what makes these guys huge. Special thanks to my wife, who is gracious and long-suffering :-P


 So, I hooked the Tang-Bands up uncrossed with the ribbon tweeters wired in parallel (the Lepai can push the combined 4-ohm load just fine), and sure enough: they sound a lot brighter and more even than the crossed 3-way setup, likely due to the Tang-Band's hump above 15 kHz combined with the natural lack of sensitivity mismatching.